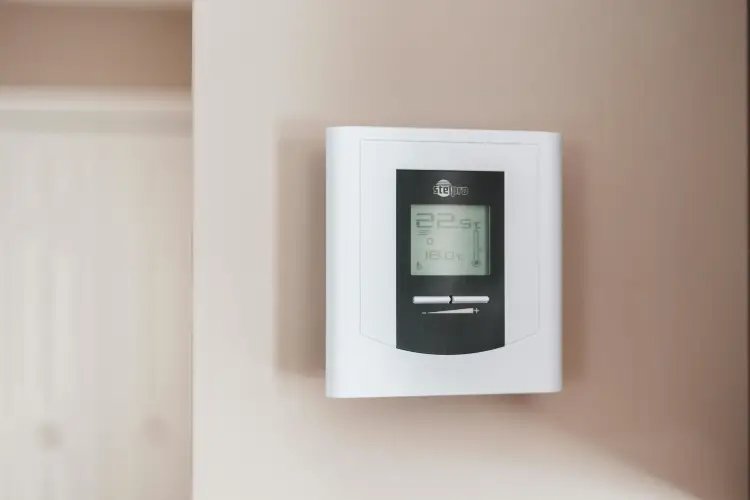
In the past people used simple thermostats but now in this age of inventions, smart thermostats are used. Smart thermostats are used to maintain the temperature of your home, instead of using simple thermostats you should install smart thermostats in your home because you can monitor it just by tapping on the mobile. They save energy and reduce your bills. It can be connected to your Wi-Fi. When you decide to install a smart thermostat in your home next step is to know how to install it properly. In this guide, we will describe the step-by-step process for how to install a smart thermostat in your home.
Things required for installing a smart thermostat:
Before starting the process, you require the following equipment for installing it in your home:
- Five-wire thermostat cable
- electric drill
- flathead screwdriver
- Phillips head screwdriver
- hammer
- wire stripper
- pencil
- roll painter’s tape or labels
- Materials
- smart thermostat
- C-wire adapter
People make some mistakes while installing these smart thermostats in their homes. You should check the following things before starting the process of installation:
- Compatibility:
You should check whether the smart thermostat you have purchased is compatible with your HVAC system or not. If it will support your temperature-increasing and decreasing equipment then it is compatible if it can’t then it is not compatible.
- C wire adapter:
You should check whether your HVAC has a C wire or not, as smart thermostats need this C wire for their proper working. If it does not have it then you must use a C wire adapter to let your thermostat work properly.
- Make connections carefully and perform system testing:
As you know you can connect your smart thermostat with Wi-Fi in your home, if you want to connect it then follow all the guidelines carefully to monitor it properly. When you install it then test whether it is working properly or not.
Step-by-step procedure:
If you have the equipment listed above then go ahead and follow the step-by-step procedure described below:
- Turn off the main power supply:
Firstly, you must switch off the main power supply to remain safe from electric shocks.
- Remove old thermostat:
If you have installed a simple thermostat then you should remove it carefully. Note down which wire is connected to which wire. Remembering older connections can help you make the connection with a new thermostat.
- Make connections
You should be careful while making connections. Check the terminal and combine them correctly. Wrap tapes on these terminals to insulate them.
- Find a suitable place:
The next step is to find a suitable place. You should place it in such place that is away from any type of heat source. Use a screw for mounting the thermostat’s backplate on the wall. Make connections with Wi-Fi if you want to connect it with it.
- Testing:
This is the last step which is used for testing the functioning of your smart thermostat. Check it by cooling or heating your room. Make sure the temperature of your room must match with the reading shown on your HVAC.
Related: 10 Renovation Tips for an Eco-Friendly Home
Related: Energy-efficient home upgrades on a budget
Related: What are some tips for prolonging the life of your water heater
Related: 10 Tips to Maintain Tankless Water Heater in Baltimore, MD
Related: Everything You Need to Know About Water Heater Installation

 Tips for creating a productive home office space on a budget